We all have at least one embarrassing memory of “Home Haircuts Gone Wrong.” Like the time we cut off too much of our bangs and ended up looking like Jim Carrey from Dumb and Dumber. Or the DIY bowl cuts, mullets and mohawks that are unfortunately immortalized in our high school yearbooks. (Shudder.)
However, cutting your own hair at home doesn’t have to lead to disaster. You can do simple trims and hairstyles (or even successfully cut your childrén’s hair) and be happy with the results. All you need are these tips and the best hair cutting shears.
What tools do I need to cut my hair at home?
Never use kitchen scissors or regular paper scissors to cut your hair at home. Their blades can be very dull and blunt, so you won’t be able to cut with precision. You will end up chopping off more than you intended, or get an uneven edge. You may also end up damaging your tips and getting split ends.
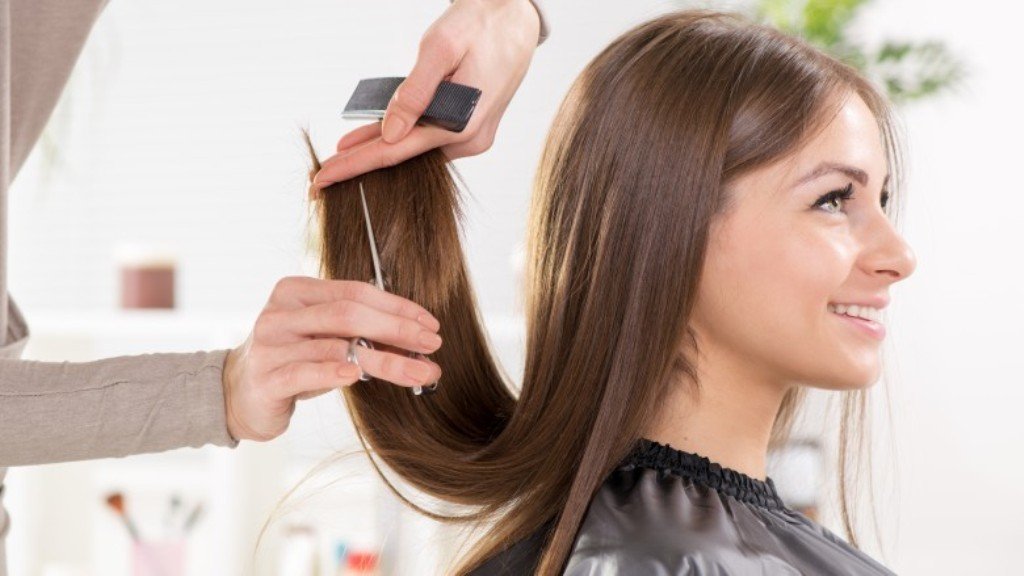
“If you’re going to be cutting your own hair, it’s so worth the investment to buy a pair of professional hairdressing scissors,” says celebrity hairstylist Mark Fugate. The best hair cutting shears cut your hair like butter, and handles will fit comfortably around your fingers. Use these scissors only for cutting hair, because using them on paper or cloth will dull the blade.
You will also need hair clips that will let you section your hair, a fine comb, and a mirror that will let you see your hair from all sides.
What’s the best way to trim split ends?
There are several techniques that will make it easy to cut split ends at home.
The first involves twisting your hair. First, divide dry hair into about 1-inch sections if you have thick hair, or 2-inch sections if you have fine or thin hair.
Start twisting your hair clockwise from the roots, going down until the entire length is tightly coiled. You will notice split ends will start sticking out. Check if they’re split ends (they usually are), and start cutting off about half a centimeter (or 1/8th of an inch) at a time. Then, untwist your hair and comb through it. Then, twist it counter-clockwise and repeat the process. This will help you catch any split ends you have missed.
The second method works better if you just want to trim the split-ends on the tips of your hair. First, wash your hair with a clarifying shampoo, which will remove any conditioner or product build-up that will make hair lie flat. You want to see all the split ends! Dry hair until it’s slightly damp. Brush out any tangles, then divide hair into sections with a fine-toothed comb. Lastly, slip each section of hair between your middle and index fingers. Starting from the hair roots, tightly grip each strand and run your hand down to the end, stopping when you are about two inches away from the tips. Cut off about half an inch away at a time. Hold the scissors perpendicular to your hair so you can cut straight.
How do I cut my bangs at home?
Bangs are very trendy now, and they can look really cute. Unfortunately, they grow out and start hitting your eyes (ouch). Does that mean you have to shell out money at the salon just to get them trimmed?
No! You can cut your bangs at home without looking like you got into a fight with a lawnmower – and lost.
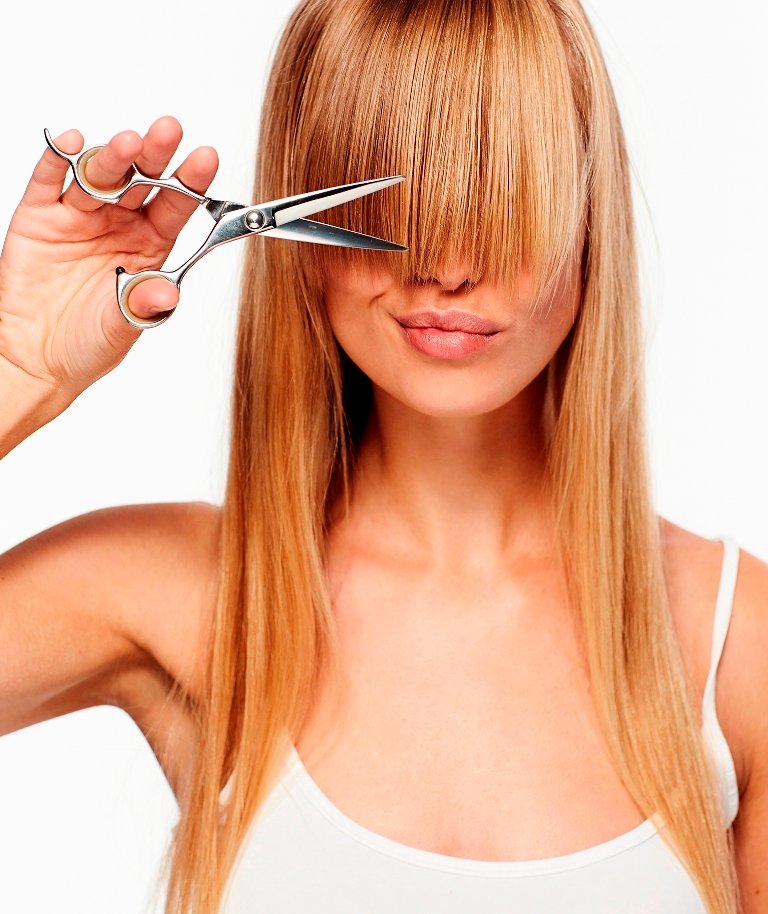
First, start by washing your hair and blowdrying or styling your bangs so that you get an accurate idea of the length. This is especially important if you have curly or wavy hair that “shrinks” when it’s dry. Never, ever ever cut your bangs while they’re wet.
Second, clip back the rest of your hair so you have a clean and unobstructed view of your bangs.
Third, cut your bangs in thin layers. Clip back the top layers, and start at the bottom. Working in layers from the bottom to the top has several advantages:
1) the result looks more natural, 2) the bottom layer acts like a guide for cutting the succeeding layers, and 3) the top layers will hide any mistakes.
Pro hairstyling tip: don’t cut your bangs in a straight line. Instead, hold your hairdressing scissors horizontally. “You create a soft, piece-y, and diffused line that looks natural, rather than a blunt line that looks like you just cut it,” says Fugate.
Lastly, it’s safer to have your bangs cut at a salon and then trim them yourself later on. It’s tricky to cut bangs from scratch, especially if you have never cut your hair at home before.
How do I trim curly hair?
Curly hair can get frizzy and dry, so it’s important to trim it regularly to prevent split-ends and tangles. Natural hair influencer Ijeoma Kola says she pays close attention to her hair tips. If it looks “visibly scraggly” and even her go-to hair products can’t restore shine and softness, she gives herself a trim. She notices that this usually happens every 4 to 6 weeks, depending on whether her hair’s become extra dry or frizzy because of styling, swimming or the season.
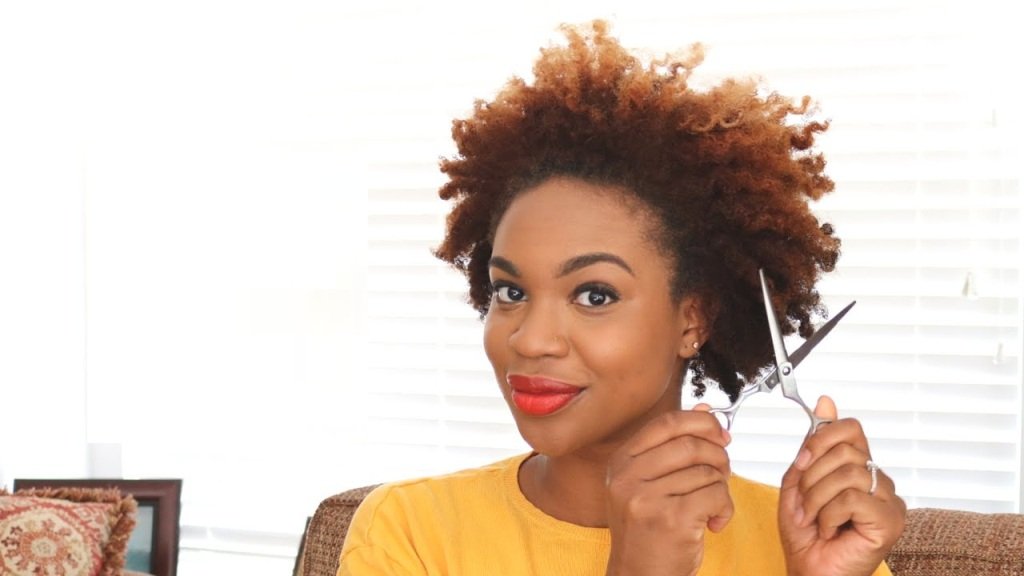
Should you cut curly hair after straightening it, or when it’s in its naturally curly state? That’s actually a good question, and even professional hair stylists have different opinions. However, it may boil down to how you usually style your hair. If you always leave your hair curly, then cut it when it’s curly. If you sometimes wear it straight, then blow it out before you trim.
How do I cut my children’s hair?
You can save a lot of money, time and stress by trimming your kids’ hair at home – especially if all you want to do is to maintain their bangs or cut a few inches off the back. There’s a wealth of Youtube tutorials that are simple enough for beginners. However, here’s a few tips to get you started.
First, gather your tools: sharp scissors, a spray bottle with water, an old towel to cover your child’s neck, and arms, a comb, and hair clips.
Second, section hair. To create the front or top section, use your child’s ears at a guide. Create a neat line from ear-to-ear with a fine comb. (It’s a lot like creating a half ponytail.) Divide that into three horizontal sections, which lets you cut hair in layers.
Then, divide the hair at the bottom into 1-inch horizontal sections. Clip each section.
Later on, when you cut the hair, start with the bottom section (moving from left to right) and then release the layers of the top section one at a time.
Always remember to cut off a little hair at a time. Don’t pull the hair tight, because you may end up cutting off too much. Relax your hand, and use your finger to guide the scissors. If the hair is damp, cut off only ¼ inch at a time. If the hair is dry, cut off about half an inch at a time. That’s because hair will shrink when it’s dry.
Take your time, especially if you are new to this. Entertain your child by playing a video. Not only will this prevent your child from squirming or getting restless, but it will make sure your child is looking straight ahead. That will give you an accurate idea of his hair length.
How do I cut short hair?
Use a wide-tooth comb to divide hair, then clip it into sections. For the top section, comb hair back to form a rectangle from the temples of the forehead to the crown. This will leave the hair at the sides of the hair free. Thus, the top section will have three different parts: left, middle (which is wider), and right.

Now it’s time to section the middle and the bottom. Divide the middle section into two, then divide the bottom section into two. The bottom sections will be more narrow.
Now it’s time to trim. Move from left to right, and back to front. Always cut just a quarter inch of hair at a time.
Cut 1/4 inch off. Moving left to right and back to front. “Hair might look longer in some places, but it’s due to the curvature of the head,” says J. Elaine Spear, author of Haircutting for Dummies.
Ready, get set….trim!
That covers the basics of cutting your hair at home. Start with maintaining your length and trimming bangs or tips, before you try more challenging styles. This gives you time to become familiar with how your hair behaves and looks when it’s wet or dry, master your hair sectioning and haircutting skills, and practice using scissors. With practice, confidence, and the best hair cutting scissors, you’ll be cutting your hair at home like a pro!


